
cypruswell
Literature for everyoneUpgrade Your Home with a Lintel Replacement: A Step-by-Step Guide
Thursday , 2, May 2024 Business and Management Comments Off on Upgrade Your Home with a Lintel Replacement: A Step-by-Step Guide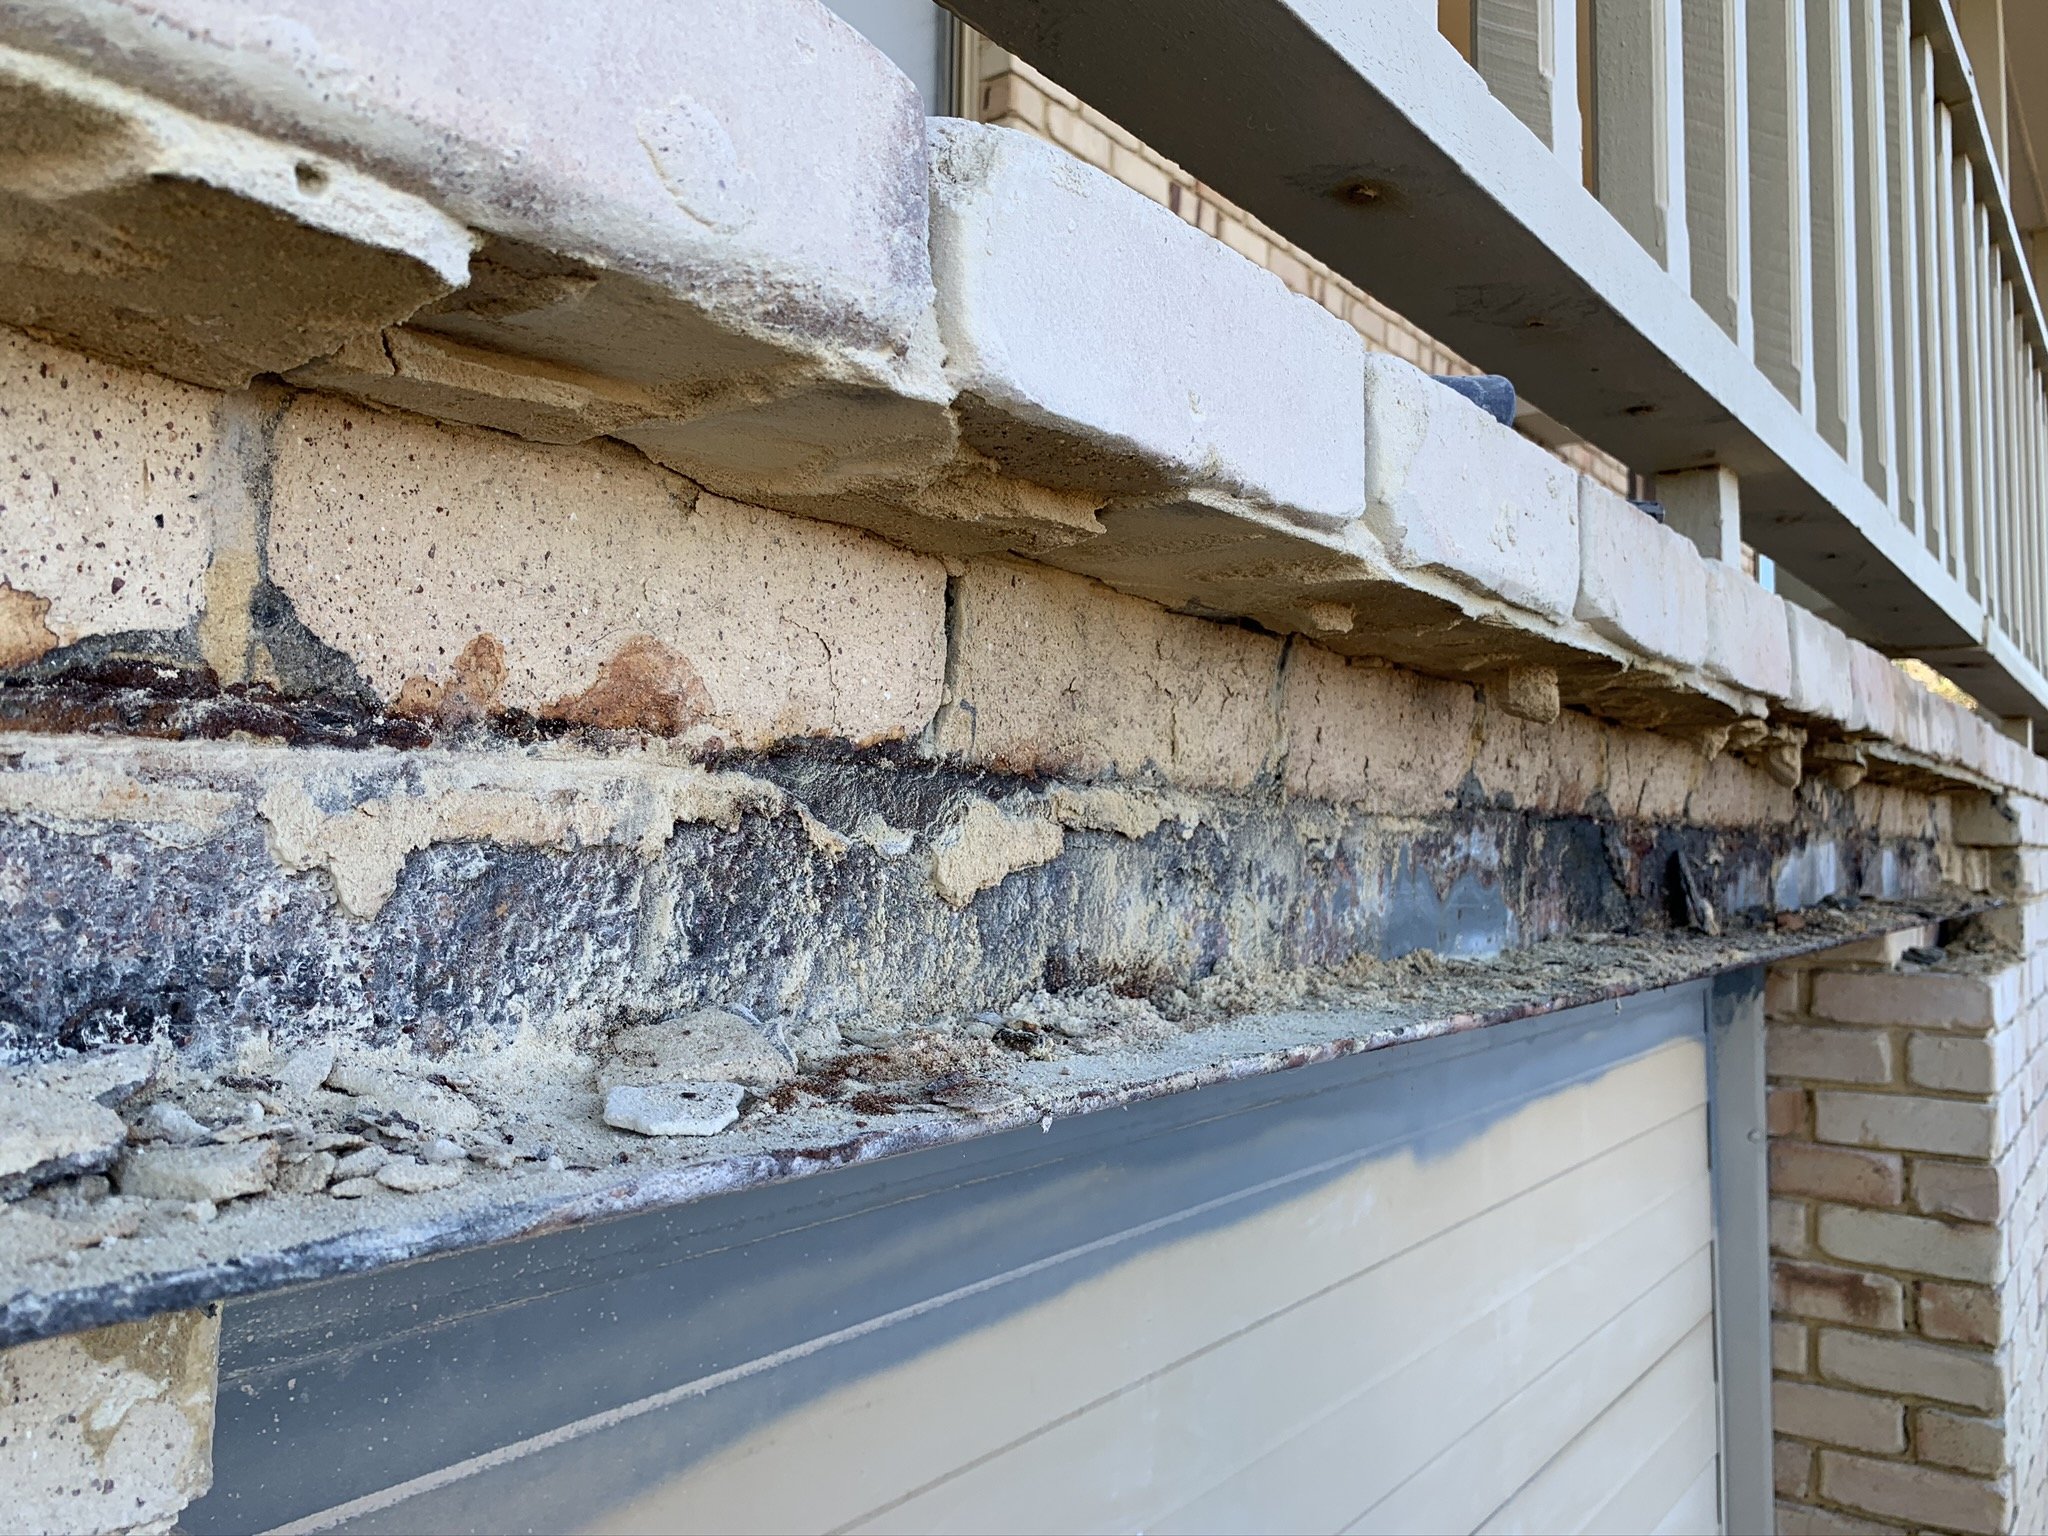
Image Source: Google
Lintels play a crucial role in providing structural support above openings like windows and doors in a building. Over time, lintels can deteriorate due to exposure to the elements, leading to potential structural issues in your home. If you notice signs of damage such as cracking or sagging above your windows or doors, it may be time to consider the lintel replacement services. In this step-by-step guide, we will walk you through the process of upgrading your home with a new lintel.
Assessment and Planning
Inspect the Existing Lintel
- Check for signs of damage such as cracking, sagging, or rust.
- Determine the type and size of the existing lintel.
- Measure the opening span to ensure you get the right replacement lintel.
Consult with a Professional
- It is recommended to seek advice from a structural engineer or a qualified builder.
- They can help you determine the best type of lintel for your home and provide guidance on the installation process.
Choosing the Right Lintel
Selecting the Material
- Steel lintels are durable and strong, making them suitable for supporting heavy loads.
- Concrete lintels are a cost-effective option and offer good thermal insulation properties.
- Timber lintels can provide a traditional look but may require more maintenance.
Determining the Type
- Box lintels are commonly used for standard openings.
- Angle lintels are ideal for supporting brickwork above windows and doors.
- Flat lintels are suitable for wider openings or where a sleek look is desired.
Preparation for Installation
Gather the Necessary Tools and Equipment
- Safety gear such as gloves and goggles
- Measuring tape and level
- Drill and masonry bits
- Saw for cutting the new lintel to size if needed
Prepare the Work Area
- Clean the area around the opening and remove any obstructions.
- Cover nearby furniture and floors to protect them from dust and debris.
Installation Process
Remove the Old Lintel
- Safely support the load above the opening to prevent any collapse.
- Cut any mortar or fixings holding the old lintel in place.
- Carefully remove the old lintel from the opening.
Install the New Lintel
- Position the new lintel above the opening and ensure it is level.
- Secure the lintel in place using appropriate fixings such as screws or bolts.
- Check for alignment and make any adjustments as necessary.
Finishing Touches
Seal and Insulate
- Apply a suitable sealant around the edges of the lintel to prevent water infiltration.
- Add insulation between the lintel and the surrounding masonry for thermal efficiency.
Reinstate the Brickwork
- Carefully rebuild the brickwork above the lintel, ensuring proper alignment and support.
- Allow sufficient time for the mortar to set before removing any temporary supports.
Final Inspection and Maintenance
Check for Proper Installation
- Inspect the new lintel for any signs of movement or misalignment.
- Ensure that the surrounding brickwork is secure and properly supported.
Maintenance Tips
- Regularly inspect the lintel for any signs of damage or corrosion.
- Keep the area around the lintel clean and free from debris.
By following this step-by-step guide, you can upgrade your home with a new lintel replacement and ensure the structural integrity of your property. If you feel unsure about any part of the process, it is always best to seek professional assistance to ensure the job is done safely and correctly.